This month for our Island Batik Lumen Fabrics challenge, we were asked to choose a fun new friend from The Funky Friends Factory to make. I chose Miss Hannah as I really like hedgehogs.
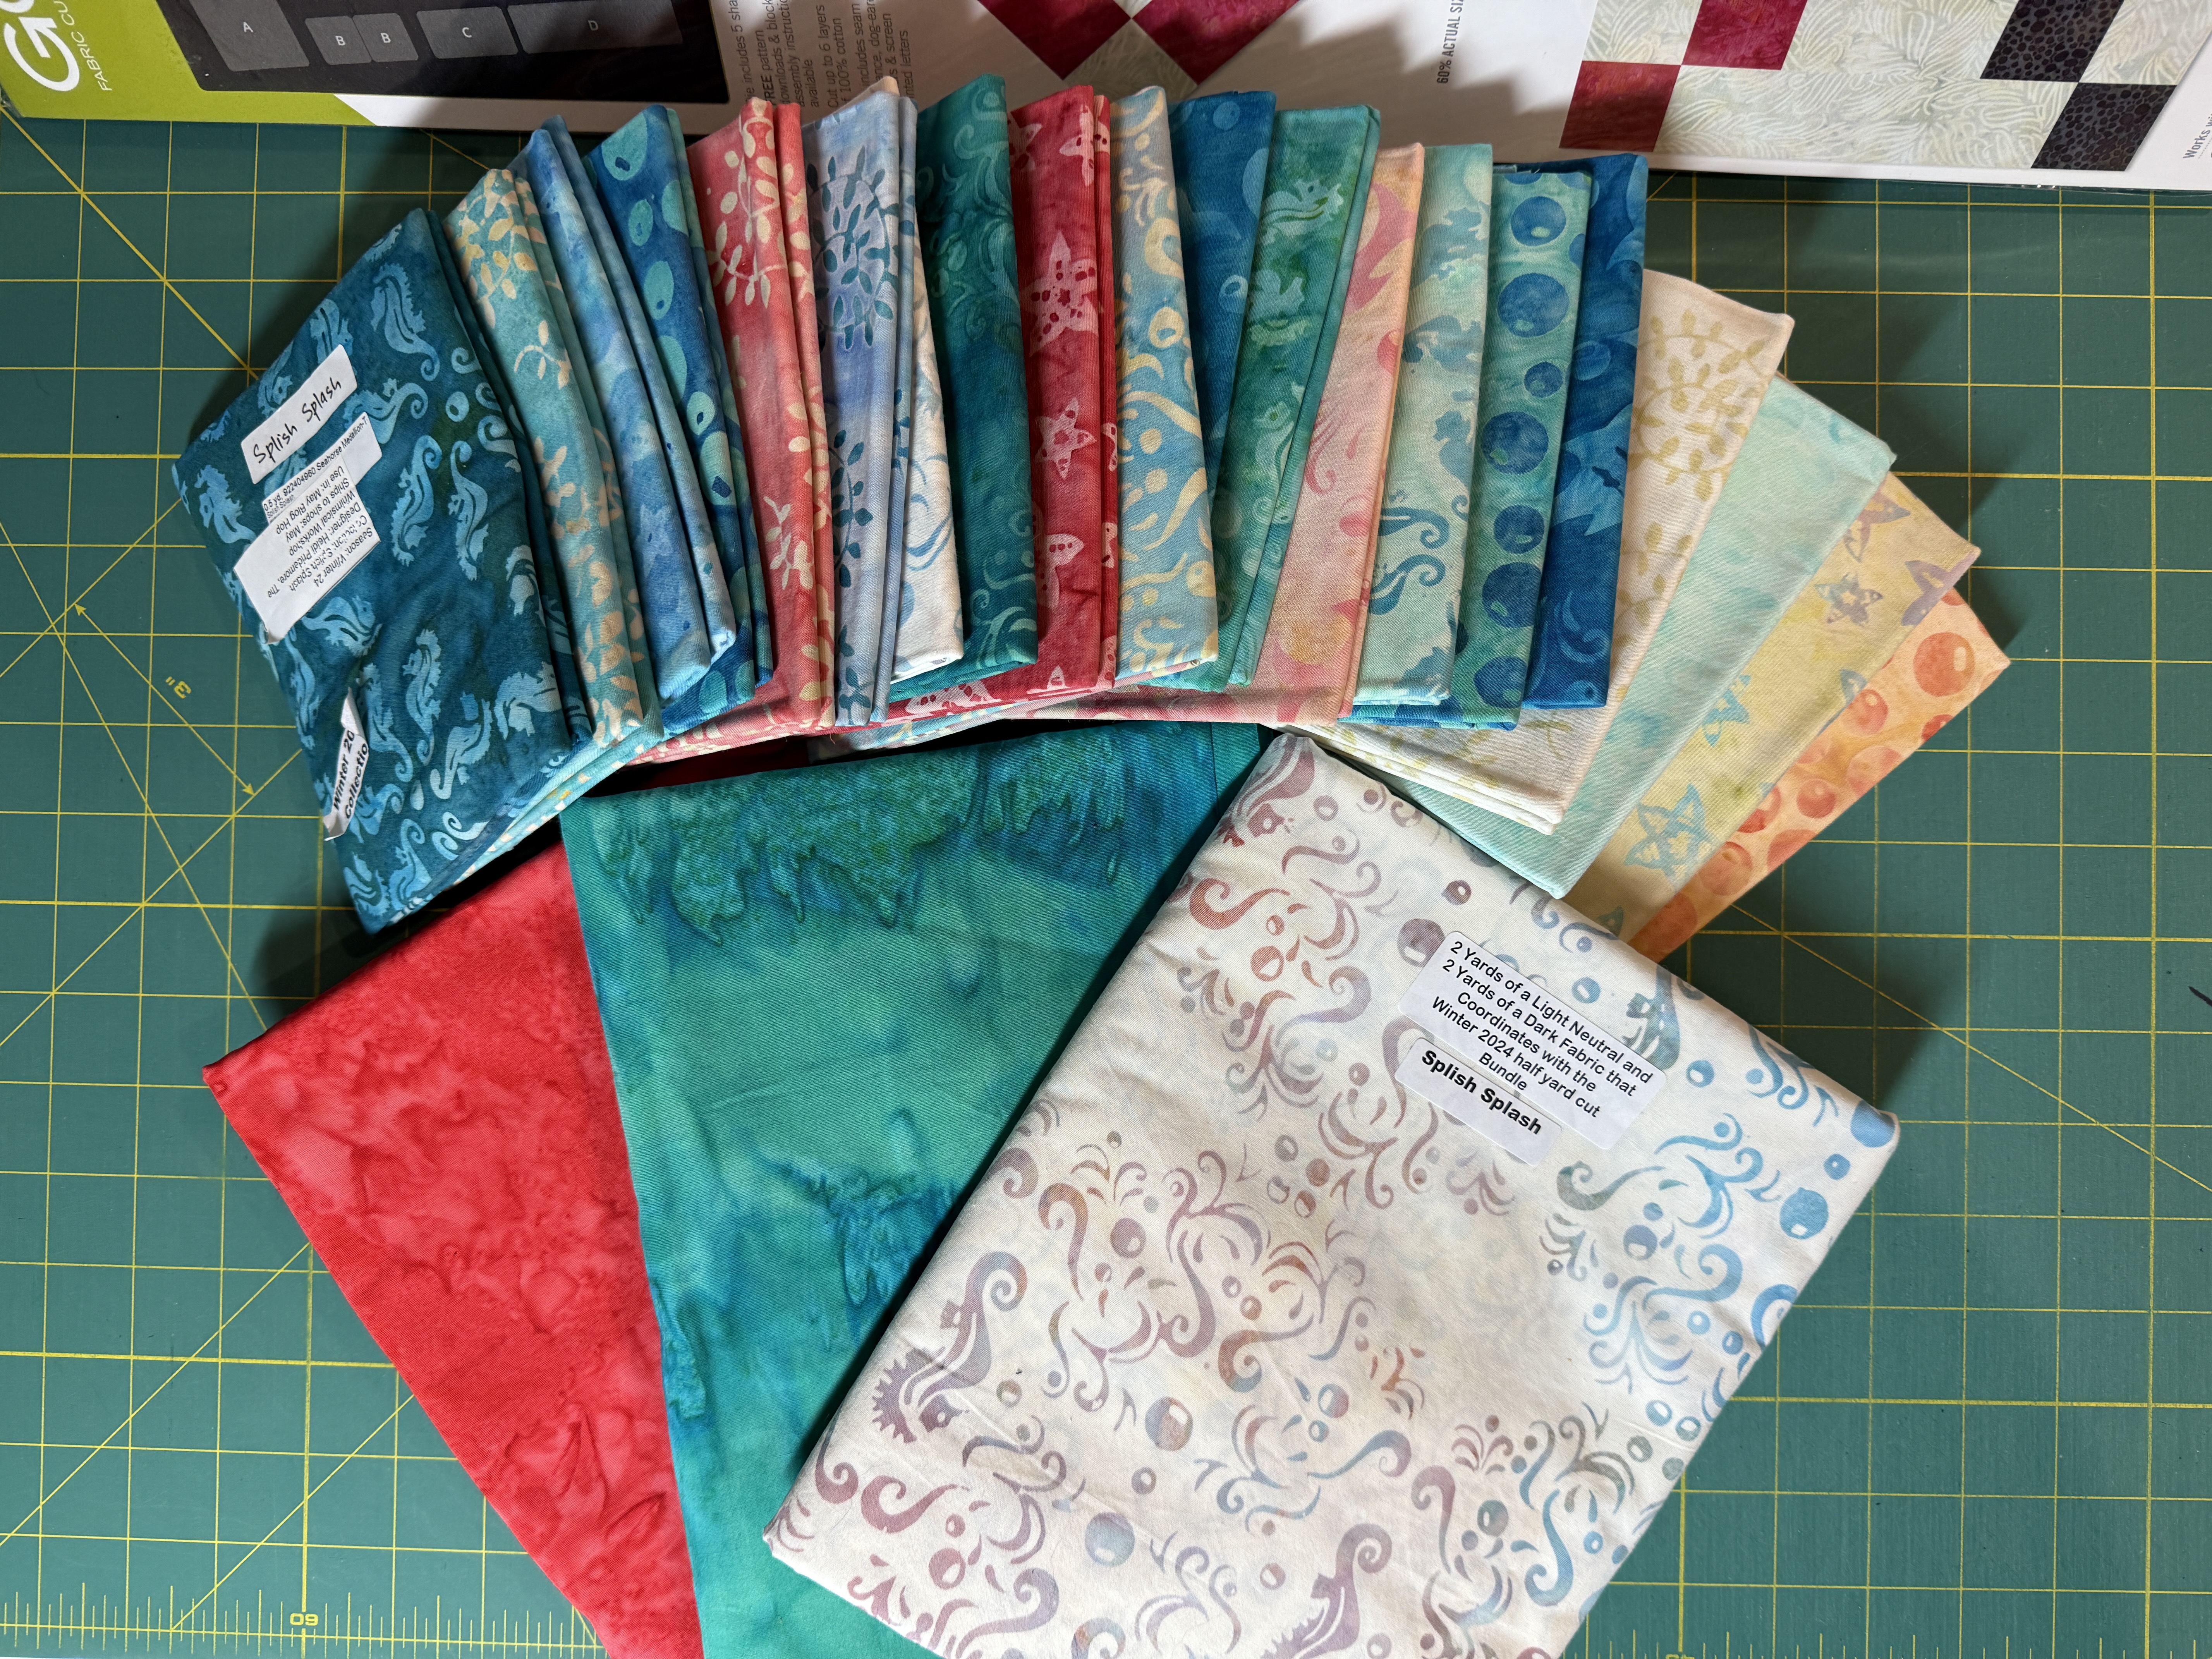
I used a variety of fabrics for Hannah but most were from the Flower Pot collection. I also used my favorite Schmetz needles, Microtek Sharps and my favorite piecing thread, Aurifil Dove Grey 2600. Of course Hannah deserved nothing but the best so she is filled with Hobbs Simply Stuffing!

Hannah came to life and couldn't wait to explore the world outside. She as after all a hedgehog and they like green things and places to hide.


It was a long and very busy day for Hannah. The little hedgehog was happy to curl up in bed with a bedtime story then dream about all the fun things she would do tomorrow.

I hope you enjoyed Hannah and her little adventure. Don't forget to visit my fellow ambassador blogs for all the fun adventures their Funky Friends Factory creations had!
Best
Sue
Brenda Alburl- https://songbirddesigns.blog
Renee Atkinson- https://wordpress.com/posts/pinktulipquilting.studio
Susan Deshensky- www.ladybluequilts.com/blog
Tina Dillard- https://quiltingaffection.blogspot.com/
Brittany Fisher- Www.bobbinwithbrittany.com
Kimberly Flannagan- https://www.kimberlysquilts.com/blog
Preeti Harris- https://sewpreetiquilts.blogspot.com
Mania Hatziioannidi- www.maniaforquilts.com
Kim Jamieson-Hirst- https://www.chatterboxquilts.com/blog
Connie Kauffman- Kauffmandesigns.blogspot.com
Connie Kresin Campbell- https://conniekresin.com/
Emily Leachman- https://thedarlingdogwood.blogspot.com/
Denise Looney- https://quiltery.com
Leah Malasky- www.quilteddelights.com
Susan Michaels-https://dragonflyfiberart.blogspot.com/
Lisa Pickering- https://lisasquiltingpassion.blog/
Sarah Pitcher- www.pitchersboutique.com/blog-1
Gail Sheppard- https://quiltinggail.com/
Carol Stanek- stitchwithcolor.blogspot.com
Solomae Stoycoff- https://cuddlecatquiltworks.com/blogs/island-batik-ambassador-blog
Jennifer Thomas- https://curlicuecreations.com
Suzy Webster- www.websterquilt.com