Showing posts with label sewing. Show all posts

Monday, April 28, 2025

Island Batik April Challenge - Drunkards Path


Meet Morocco, my drunkards path quilt for the Lumen Fabrics Island Batik Ambassador April challenge. It is named Morocco as it reminded me of the beautiful curving arches in the architecture of that country and the vibrant colors of the textiles sold in the markets there.


For my quilt, I used the Daisy May collection of fabrics on a solid black batik background. The quilting is done in a beautiful polyester gold thread, circling the blocks with arches and dragonflies.(of course)!

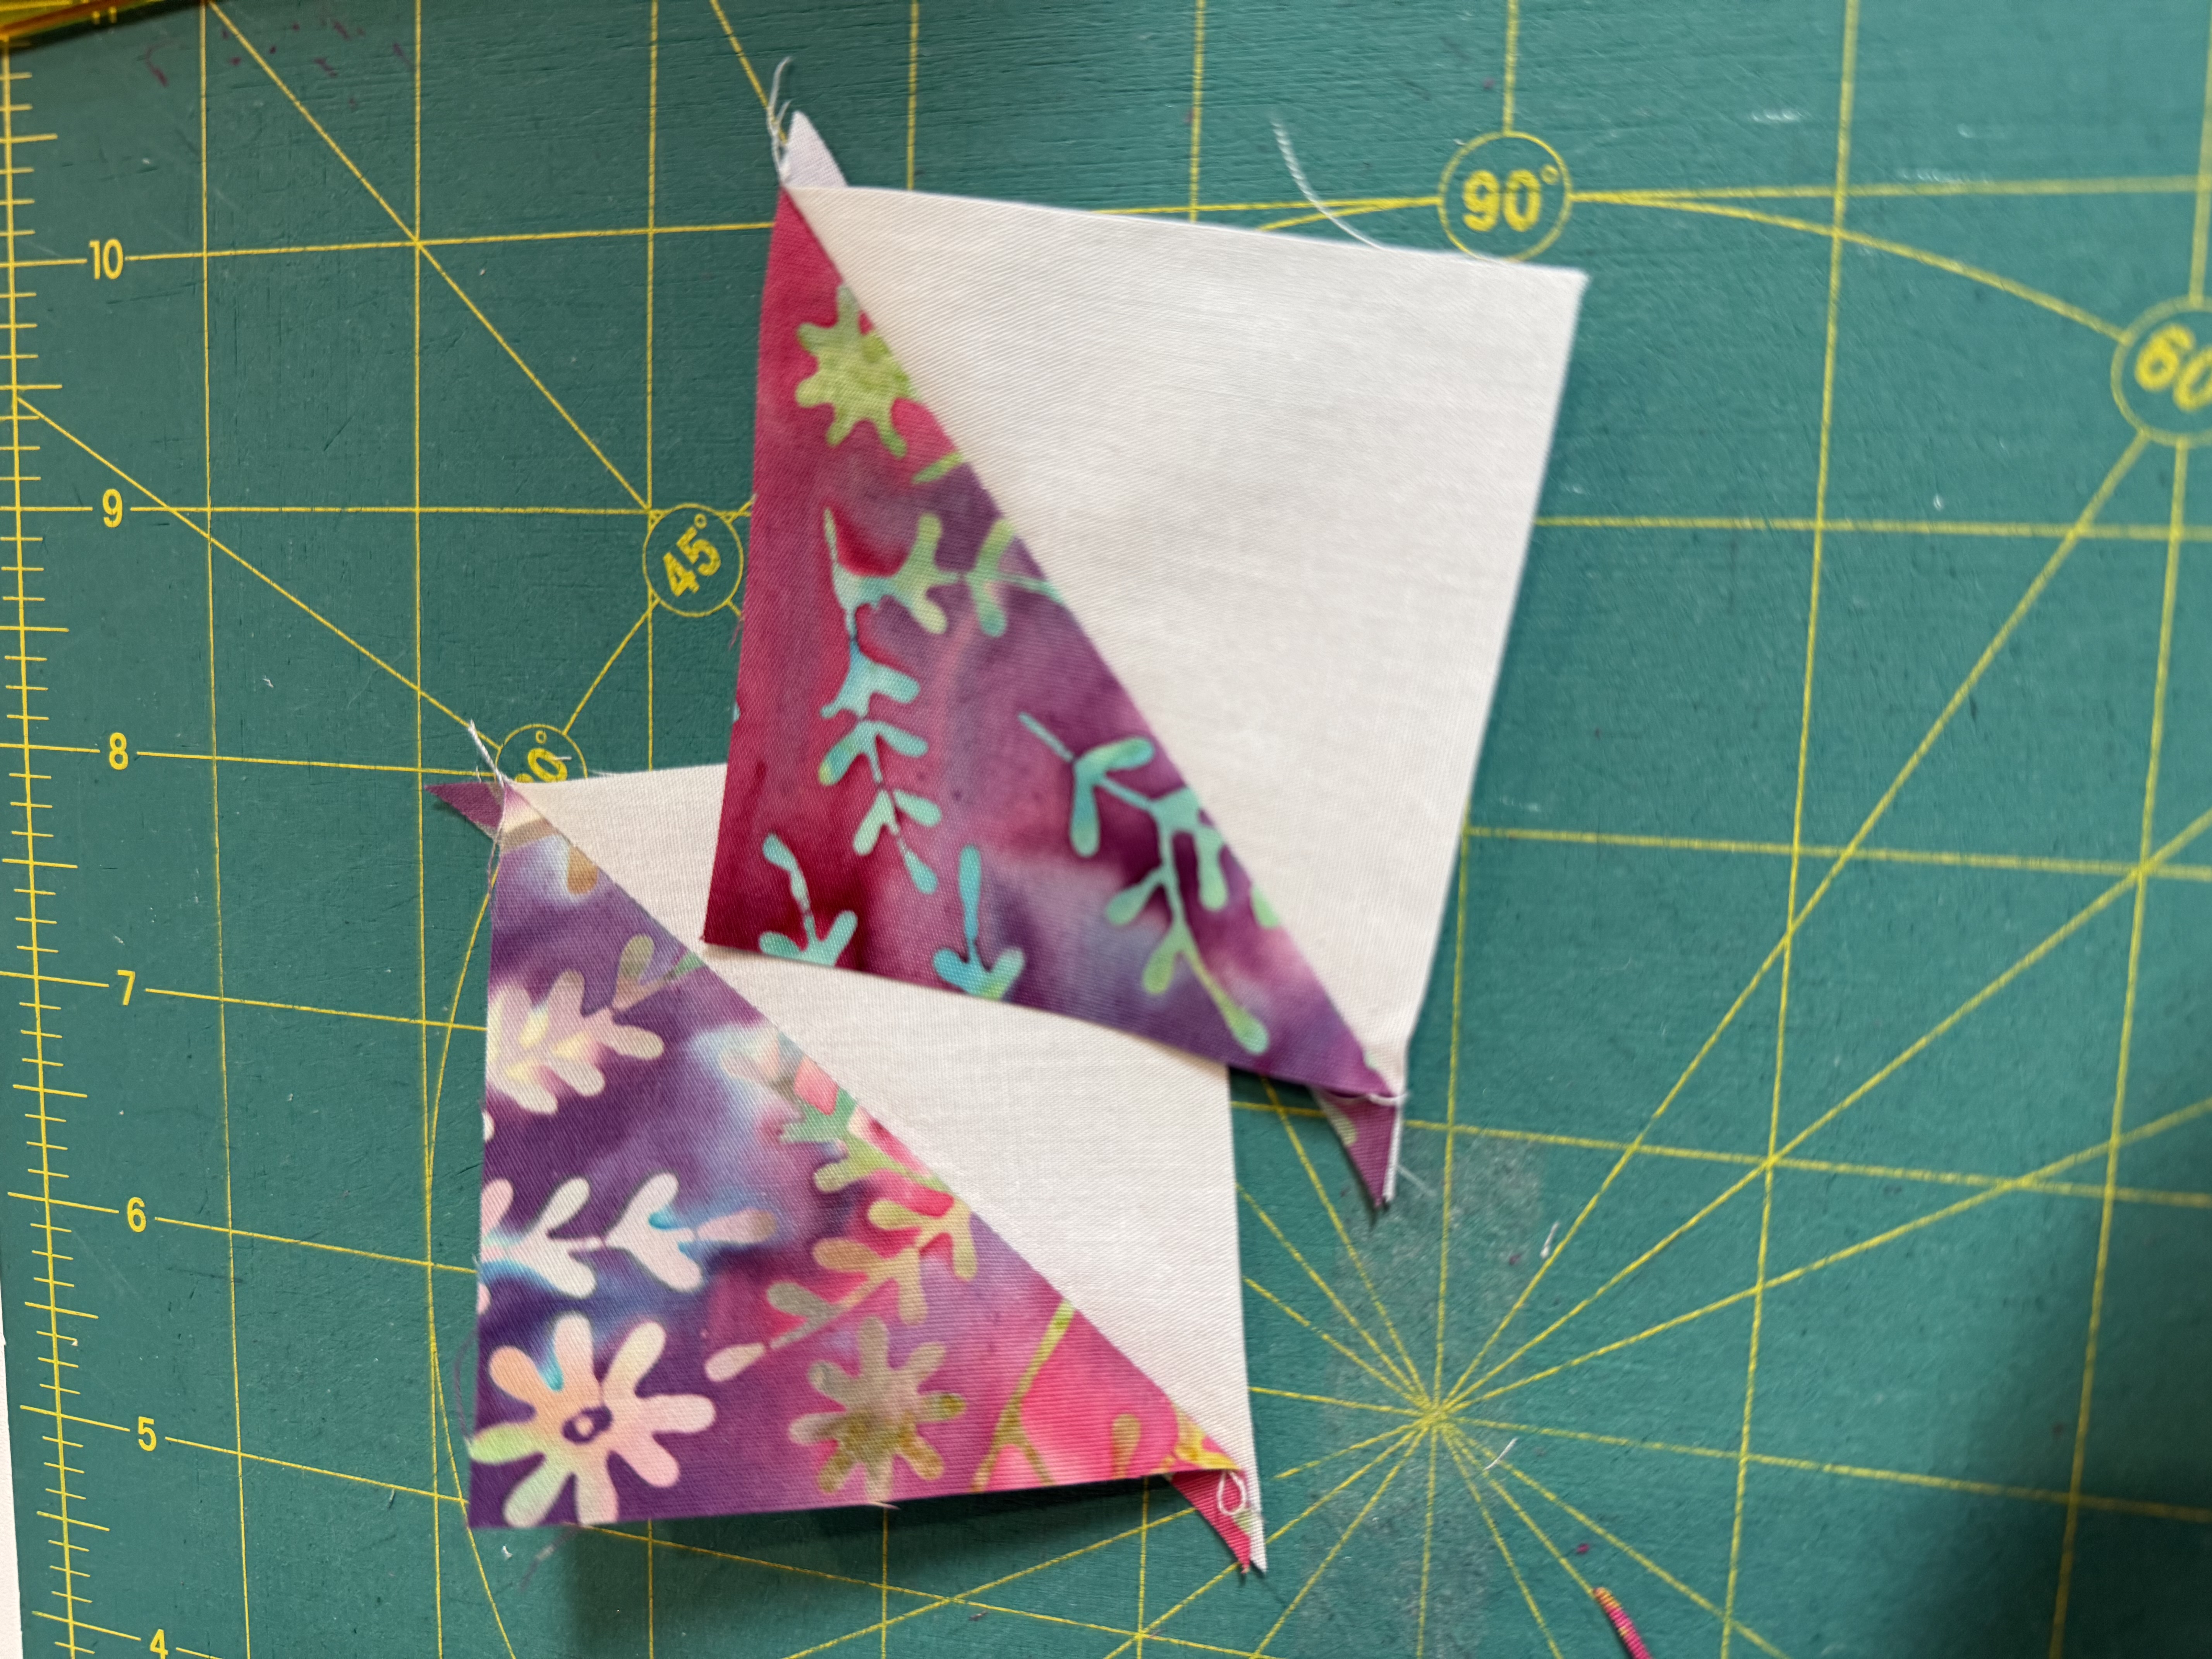
I do not typically do curved blocks. They don't like me and I don't like them. I have tried many different methods, rulers, classes, watched innumerable YouTube videos and I just cannot make them work. My curves are always perfect but the blocks always seem wonky and I always have to trim them down. This one was no exception (sighhhhhhhh...)

This time, I opted to use the CutRite rulers to cut my pieces. Donna Jordan (RIP) of Jordan Fabrics liked those particular rulers and made them look easy. She made several videos demonstrating their use in making quilts with curved blocks.  Their instructions say no need to pin as they are easy. Small slots in the ruler along the curves let you cut tiny slits that line up the two pieces as you sew. 


My original design had some small tear drops in the whiter fabrics interspersed in the quilt but the trimming made the fit bad and I just eliminated them which worked out fine. I decided to use a black background to showcase the lovely colors in the Daisy Mae collection.


Using the CutRite ruler, I cut all of my block components then headed to the sewing machine. I used Aurifil black in the bobbin and an Aurifil dark grey in the top so I could see where I was on the black.  I tightened up my stitch length to 1.8 as it seemed to work better to keep the curves smooth. I used a Schmetz Microtek Sharp needle (my favorite) in an 80/12 size.


With my trusty stilletto in hand, I tried the Cut Rite method but after ripping out for the 3rd time, decided to glue them. 

I used my favorite Acorn precision piecing glue which is heat set. It doesn't leave the fabric full of gluey stuff like a white glue or the glue pens. My Oliso iron was the pefect size for working on the curves. I glued the ends first, then the center then filled in with a few dots here and there.

I used a rigid seam guide on the base of my machine for more accuracy, set at a perfect scant quarter. I sewed all my blocks and pressed. My curves were absolutely perfect! Nice and smooth, ends matching nicely. This is where the wonky became apparent. Not sure where I went wrong, but a little trimming solved the problem. I just trimmed from 8 1/2" to 8". 


Once I trimmed the blocks, it was simply a matter of laying them out into rows and sewing them together.  Dottiann Chevalier quilted it for me using a fine weight polyester thread in gold to give it a little sheen. She did a cool pattern of swirling dragonflies! I used a black batting from Hobbs just in case there was a little bearding from the quilting process. The back is black with speckles of color that complement the Daisy May collection colors. 


So there it is!  My Drunkard's Path challenge quilt is complete. Let me see pictures of yours!  Post on Facebook or Instagram at Dragonfly Fiberart Patterns. :-)

Happy Sewing!

Sue


Be sure to check out the wonderful designs the other ambassadors created for the challenge. So many unique approaches and viewpoints. I like them all so much it is difficult to choose a favorite!


Monday, January 20, 2025

Cupid's Arrow Part II


 Hello Everyone!


This week we are sewing the lovely star crossed block. 


First, let's cut out pieces.  I used three different fat quarters plus the full width of fabric (WOF) white background for this block. My fat quarters had a lot of amazing color variation in them which gave dimension to my blocks. I am very happy with how they came out.  I am still working from the Island Batik Flower Pot group. Where I indicate 22" as the width, I am simply cutting the width of the fat qarter. It coud be 21 or 21 1/2" or 22 1/2". It doesn't matter.  There is plenty of fabric.


WOF - Width of Fabric   HST - Half Square Triangle    QST - Quarter Square Triangle
RST - Right Sides Together

Background:   Cut (4) 2 1/2" x WOF.  Subcut (64) 2 1/2" squares
                        Cut (1) 3 1/2" x WOF.  Subcut (8) 3 1/2" squares (for QST units)
                        Cut (3) 3" x WOF.  Subcut (32) 3" squares  (for HST units)

Sprig With Small Daisy:  Cut (5) 3" x 22"    Subcut (32) 3" squares (for star point HST units)

Petals Red Daiquiri:    Cut (2) x 22"    Subcut (8) 3 1/2" squares (for QST units)
                                    Cut (3) 3" x 22"    Subcut (16) 3" squares

Thyme w/Daisies Multi:  Cut (5) 2 1/2" x 22"    Subcut (40) 2 1/2" squares


Step1:  HST Units - We will make thes the same way we did for the LOVE blocks. Gather (32) Background squres and (32) Sprig with Small Daisy.  Draw a line on the back of the Background squares or even easier, udse your magic want. Place RST on the Sprig with Small Daisy blocks and sew 1/4" to either side of the line or if using a magic wand, sew on the lines. Cut apart through the center then press open to the dark. Square each to 2 1/2" square.  (64) HST units made.


Step 2:  QST Units - We start out with HST units then divide the block once more to create the QST unit. Gather (8) 3 1/2" Background squres nd (8) 3 1/2" Petals Red Daiquiri.  Follow the same technique as Step 1 to create (16 HST units. Gather the (3) Petals Red Daiquiri squares. Draw a line on the back same as we have done for the HST units. Place it RST on top of the HST units just created. The lines that you will be sewing should cross the seam, so in other words, the new seams will be perpindicular to the seam on the HST forming a cross. Sew then cut apart.  Square these units to 2 1/2". (32) QST units made.

Draw a line and sew 1/4" to each side or use the Magic Wand to draw sew line

Sew then cut the HST units apart between the seam lines.


Press open to the dark. Place the 3" square on top of the HST just made and draw a line or use the Magic Wand to draw sew line. The new seam crosses the seam on the HST. You seams will be like an X


Sew the same as the HST units then cut apart.  Press to the dark. Square the QST unit to 2 1/2".

Step 3:  Layout all the remaining squares, the HST units and the QST uits into rows as below.  Using a 1/4" seam allowance, sew each row together. Press your seams as per the diagram below, Join your rows together and press as indicated below.  Make (8) Blocks.  Square your blocks as needed to 10 1/2" being careful not to lose your points.


Voila!  Our Star Crossed Block is complete. Next week we will make hearts and arrows! 


Wednesday, August 4, 2021

 Half Square Triangle Fun

There are so many different ways to make a half square triangle. Tonight on my sampler group sew, we explored a couple of different ways and I thought it would be nice to post the cheater chart with the sizes to cut the square for 8 at a time. I have done the math for you up to 8" finished but if you need larger, the formula is there for your reference.  I always add a 'fudge factor' to my cut size. For example, we were sewing 2 1/2" half square triangles to finish at 2".  The chart tells me to cut a 5 3/4" square but I added 1/4" and cut two 6" squares.  This gave me a little wiggle room to trim to perfection in case my seams were not perfect.

Finished Block Size

Minimum Size of Squares To Cut:*

Trim Pieced Block To:

A

A x 2 + 1 ¾”

A + ½”

1”

3 ¾”

1 ½”

1 ½”

4 ¾”

2”

2”

5 ¾”

2 ½”

2 ½”

6 ¾”

3”

3”

7 ¾”

3 ½”

3 ½”

8 ¾”

4”

4”

9 ¾”

4 ½”

4 ½”

10 ¾”

5”

5”

11 ¾”

5 ½”

5 ½”

12 ¾”

6”

6”

13 ¾”

6 ½”

6 ½”

14 ¾”

7”

7”

15 ¾”

7 ½”

7 ½”

16 ¾”

8”

8”

17 ¾”

8 ½”

 *ADD ¼” to the cut size of the square to allow a little fudge factor for trimming to perfection!

Once you have cut the two contrasting squares, layer them right sides together.  Draw a line on the diagonals, corner to corner.  Your block should have an 'X' on it.  Sew 1/4" to either side of the lines.  (Sew lines are the Blue dotted lines on diagram)

Cut lines are the Solid Black lines on the diagram. When the sewing is completed, line up a ruler to cut vertically straight through the middle of the block.  Without moving the sections, now place the ruler horizontally through the center and cut.  Again without moving the sections, place your ruler on the diagonal line corner to corner and cut between your seam lines.  You now have 8 half square triangles. Tip:  If you have a spinning cutting mat, it will make the cutting easier.

Press open to the darker side.  Now square your triangles to perfection using the TRIM block dimension in the chart.  When sewn into the quilt, your block will be the Finished block dimension in the chart.  My favorite ruler for trimming is the BlocLoc ruler but any square ruler will work.  Just be sure you are lined up on the diagonal seam.


Happy Sewing!

Sue

PS.  Be sure to visit our web site for great patterns, rulers, tools and more!


Friday, March 19, 2021

Pretty Quilt As You Go Placemats From Scraps

 My quilt guilds often make placemats to donate to the Meals On Wheels program which delivers freshly made meals to folks in their homes that may need that extra bit of help.  I think it is a wonderful program and just think how happy those folks are to see the smiling face of the volunteer delivering that meal especially now when everyone is so isolated.  And also the happiness of a bright and cheerful placemat to line their tray and add that personal touch that says someone is thinking of me.  Sometimes these placemats are holiday themed and other times they are just a fun collection of fabrics meant to add some brightness to the day.


Here is a version I like to make as it is quick and pretty!  It also helps me use a bit of my scrap pile.  Actually, it doesn't even put a dent in it but it gives me joy to think it does as well as to make them. 😂

Need to gather our materials.  You will need some 2" strips of fabric in various colors.  You can use variable widths but we'll save those for another project I will show you.  I used batting scraps leftover from quilts, the trim offs after they are quilted.  Also some backing fabric.  Keep in mind that in quilt as you go (QAYG) your bobbin thread will show on the back so make sure it works with your backing fabric.

(1) fabric backing piece cut 14 1/2" x 19 1/2"

(1) batting piece 14 1/2" x 19 1/2"

(5) or (6) strips of fabric 2" x WOF or enough pieces to make the equivalent

(2) strips 2" or 2 1/4" wide x WOF for the binding

(1) 6" x 6" focus block for the center

Smooth out your batting piece and find the center.  Draw a vertical and a horizontal line though this point with a marking pen.  I used a blue water soluble pen but a Frixion would work fine as we won't need the lines after the center is placed. Place your backing fabric wrong side up on a flat surface.  Center the batting piece with the lines facing up on it.


Center your 6" x 6" focus fabric on the batting lining up each point on the drawn lines until the piece is centered. Place a pin or two near the center just to hold it in place.


Lay your first strip right sides together (RST) along one edge of the focus fabric making sure one corner is squared up.  Stitch along the edge using a 1/4" seam allowance.  Stop at the edge of the focus square. Take your scissors and trim off the excess even with the center square. Press the strip open.  I finger pressed as I went to save time or use an iron if convenient.


Place your strip on the opposite side from where you just finished sewing and sew 1/4" from that edge, stopping at the end of the focus block and trimming the excess. Press open.


Next place a strip on one of the sides not yet sewn and repeat the steps (sew, trim, press open).  Trim and repeat for the last side.


Continue working your way around placing the strips on opposite sides, sewing and trimming.


As you get closer to the edges of the placemat, the strips will be shorter and cut off at the edge of the batting.


Once all the strips cover the batting, your placemat should look something like this.


We will now trim down the placemat to it's final size, 14" x 19". Place a ruler that is at least 7" wide on the placemat, lining up the 7" line through the horizontal points on the center focus block.  Trim off the excess.  Flip the ruler and do the bottom the same way.  The height of the placemat should now be 14".


Now trim the width to 19". Place a ruler at least 10" wide on the placemat lining it up the 9 1/2" line to the top and bottom points on the center focus block.  Trim off the excess and repeat for the other side.


Your front and back should now look like this.  Trim any loose threads off of the back that may have been left behind.


Make a double fold binding and sew to the back of the placemat. Be sure to leave a 3" tail not sewn down on each end of the binding and cut on the diagonal.  Fold under about 1/4" on the edge of one of the ends. Tuck the unfolded raw end inside the one folded over and refold the binding neatly. Align to the edge of the placemat, make sure it is nice and tight and finish stitching down.  Fold the binding to the front and secure with wonder clips.  Fold your corners into nice neat miters and hold in place with a clip.  Now top stitch the binding in place.  


Thanks for sewing along with me!  Would love to see what you create.  Post it on the Dragonfly Show and Share on Facebook.

Happy Sewing
Sue


Saturday, February 13, 2021

Fun Mug Rugs With A Heart


 I was playing with some of my scraps leftover from the heart themed table runners.  I thought a little mug rug would be just the project!  Small, fast, easy to make and oh so very sweet.  I have two versions here.  The first is Hearts A Flutter with cute little hearts scattered topsy turvy across the surface. The second, My Beating Heart is so simple yet elegant with just some echo quilting to give it it's personality.

So let's gather some materials. The sizes are the same for both mug rugs.

Front and back fabrics:  (2) pieces 6 1/2" x 9 1/2"

Batting:  (1) piece 6 1/2" x 9 1/2"

Binding: 2" x 36" piece, pressed in half length wise

Hearts: Scraps or strips of multiple colors 

Small piece of fusible web that can be sewn (I used Heat N Bond Lite)

You will see the downloads for the heart templates in the sections below. The templates have an optional seam allowance added (outside line) in case someone wishes to hand applique or turn the edges under and use a straight or blanket stitch to attach.  If fusing, trace the inside dark solid line with no seam allowance, then satin or zig zag stitch the edges.  This will quilt your mug rug at the same time.


Download Hearts A Flutter template here.

For Hearts A Flutter, cut 1" strips then sew together along the length to create a strip set. You could also use strips in random widths but not too wide as the hearts are small.  You could also just make each heart a single color of fabric. Press the seams all in the same direction. 

Trace the hearts onto the paper side of the fusible web. rough cut around them and place them on the back of the strip assembly. Press and fuse into place. Cut out the hearts along the drawn lines.

Scatter the hearts onto the top fabric until you find an arrangement you like, then peel the paper backing and fuse into place.  Layer your backing fabric wrong side up, place the batting on top then your top fabric right side up. Secure the layers together with pins or, stitch around the outside, very close to the edge to hold the layers together.  Satin stitch, blanket stitch or zig zag the edges of each heart.  Then echo quilt once around each heart shape.  

Sew your binding on to the front of the mug rug, then fold over to the back.  Machine or hand stitch to the back.

Fabulous and finished!

For My Beating Heart, you will follow all the same steps above except that you will only be fusing on and stitching the one heart.  Download My Beating Heart template here.


The heart is about 3" x 3".  Place it on the mug rug top on the right side centered between the top and bottom with the same distance from the right edge. Fuse or applique into place. Place your layers together, secure then stitch around your heart through all the layers.  Starting at the bottom point of the heart, echo quilt around the heart, equally spacing each round of stitching.  

The echo stitching rounds will eventually start going off the top, bottom and right edges.  As the echo grows larger, you will only be stitching the curves on the left side which goes really fast.  The echo rows should be 1/4" to 3/8" apart.  I just used the width of the foot on my machine.

Finish with binding the same as the Hearts A Flutter mug rug.  That's it, you are done!  So now enjoy your happy little mug rugs this Valentine's Day or any day you wish to share some love with someone special.


Happy Sewing!

Sue

PS. Be sure to visit our web site for lots of great quilt, table runner, placemat, home dec and tote bag patterns!