Cupid's Arrow Sew-Along
Hello Friends!
Today we start our fun Valentine's Day Sew Along. We will be making this cute little lap quilt or wall hanging in 4 different sessions. The quilt is 58" x 58" so easy to manage and has a few simple blocks. But I'll try to show you some fun shortcuts and tips as we sew along.
I made mine super scrappy using a variety of fat quarters, about 10 different ones and 3 yards of background. You could certainly do it with a more planned pallete. So 1 yard each of two reds/pinks, a 1/2 yard of complementary like my teal and a 1/2 yard of gold would do it. Island Batik gave me this great fat quarter bundle called Flower Pot so I pulled my colors from that. They also gave me the fabulous white background batik.
So for the first week we are going to make the four letter blocks. Easy Peasy!
I will be using 2 different fat quarters and full bolt width background fabric.
Background: Cut (3) 2 1/2" x WOF strips
Subcut from strips (16) 2 1/2" x 6 1/2" rectangles, (1) 2 1/2" square
Cut (1) 3" x WOF strip. Subcut (3) 3" squares, (2) 1 1/2" x 4 1/2", (3) 1 1/2" squares
Cut (1) 4 1/2" square Cut (2) 4" squares
Pink/Red Fat Quarter: Cut (2) 2 1/2" x 22" strip. Subcut from strips (16) 2 1/2" squares
Blue/Green Fat Quarter: (1) 3" x 22" strip. Subcut (3) 3" squares
(2) 2 1/2" x 22" strip. Subcut (5) 2 1/2" squares, (2) 2 1/2" x 6 1/2"
(1) 2" x 22" strip. Subcut (2) 2" x 4 1/2" rectangles
(1) 1 1/2" x 3 1/2" rectangles
Cut (2) 4" squares
Now that we have all out pieces cut, let's make the components needed for the letters then we can go right to assembly.
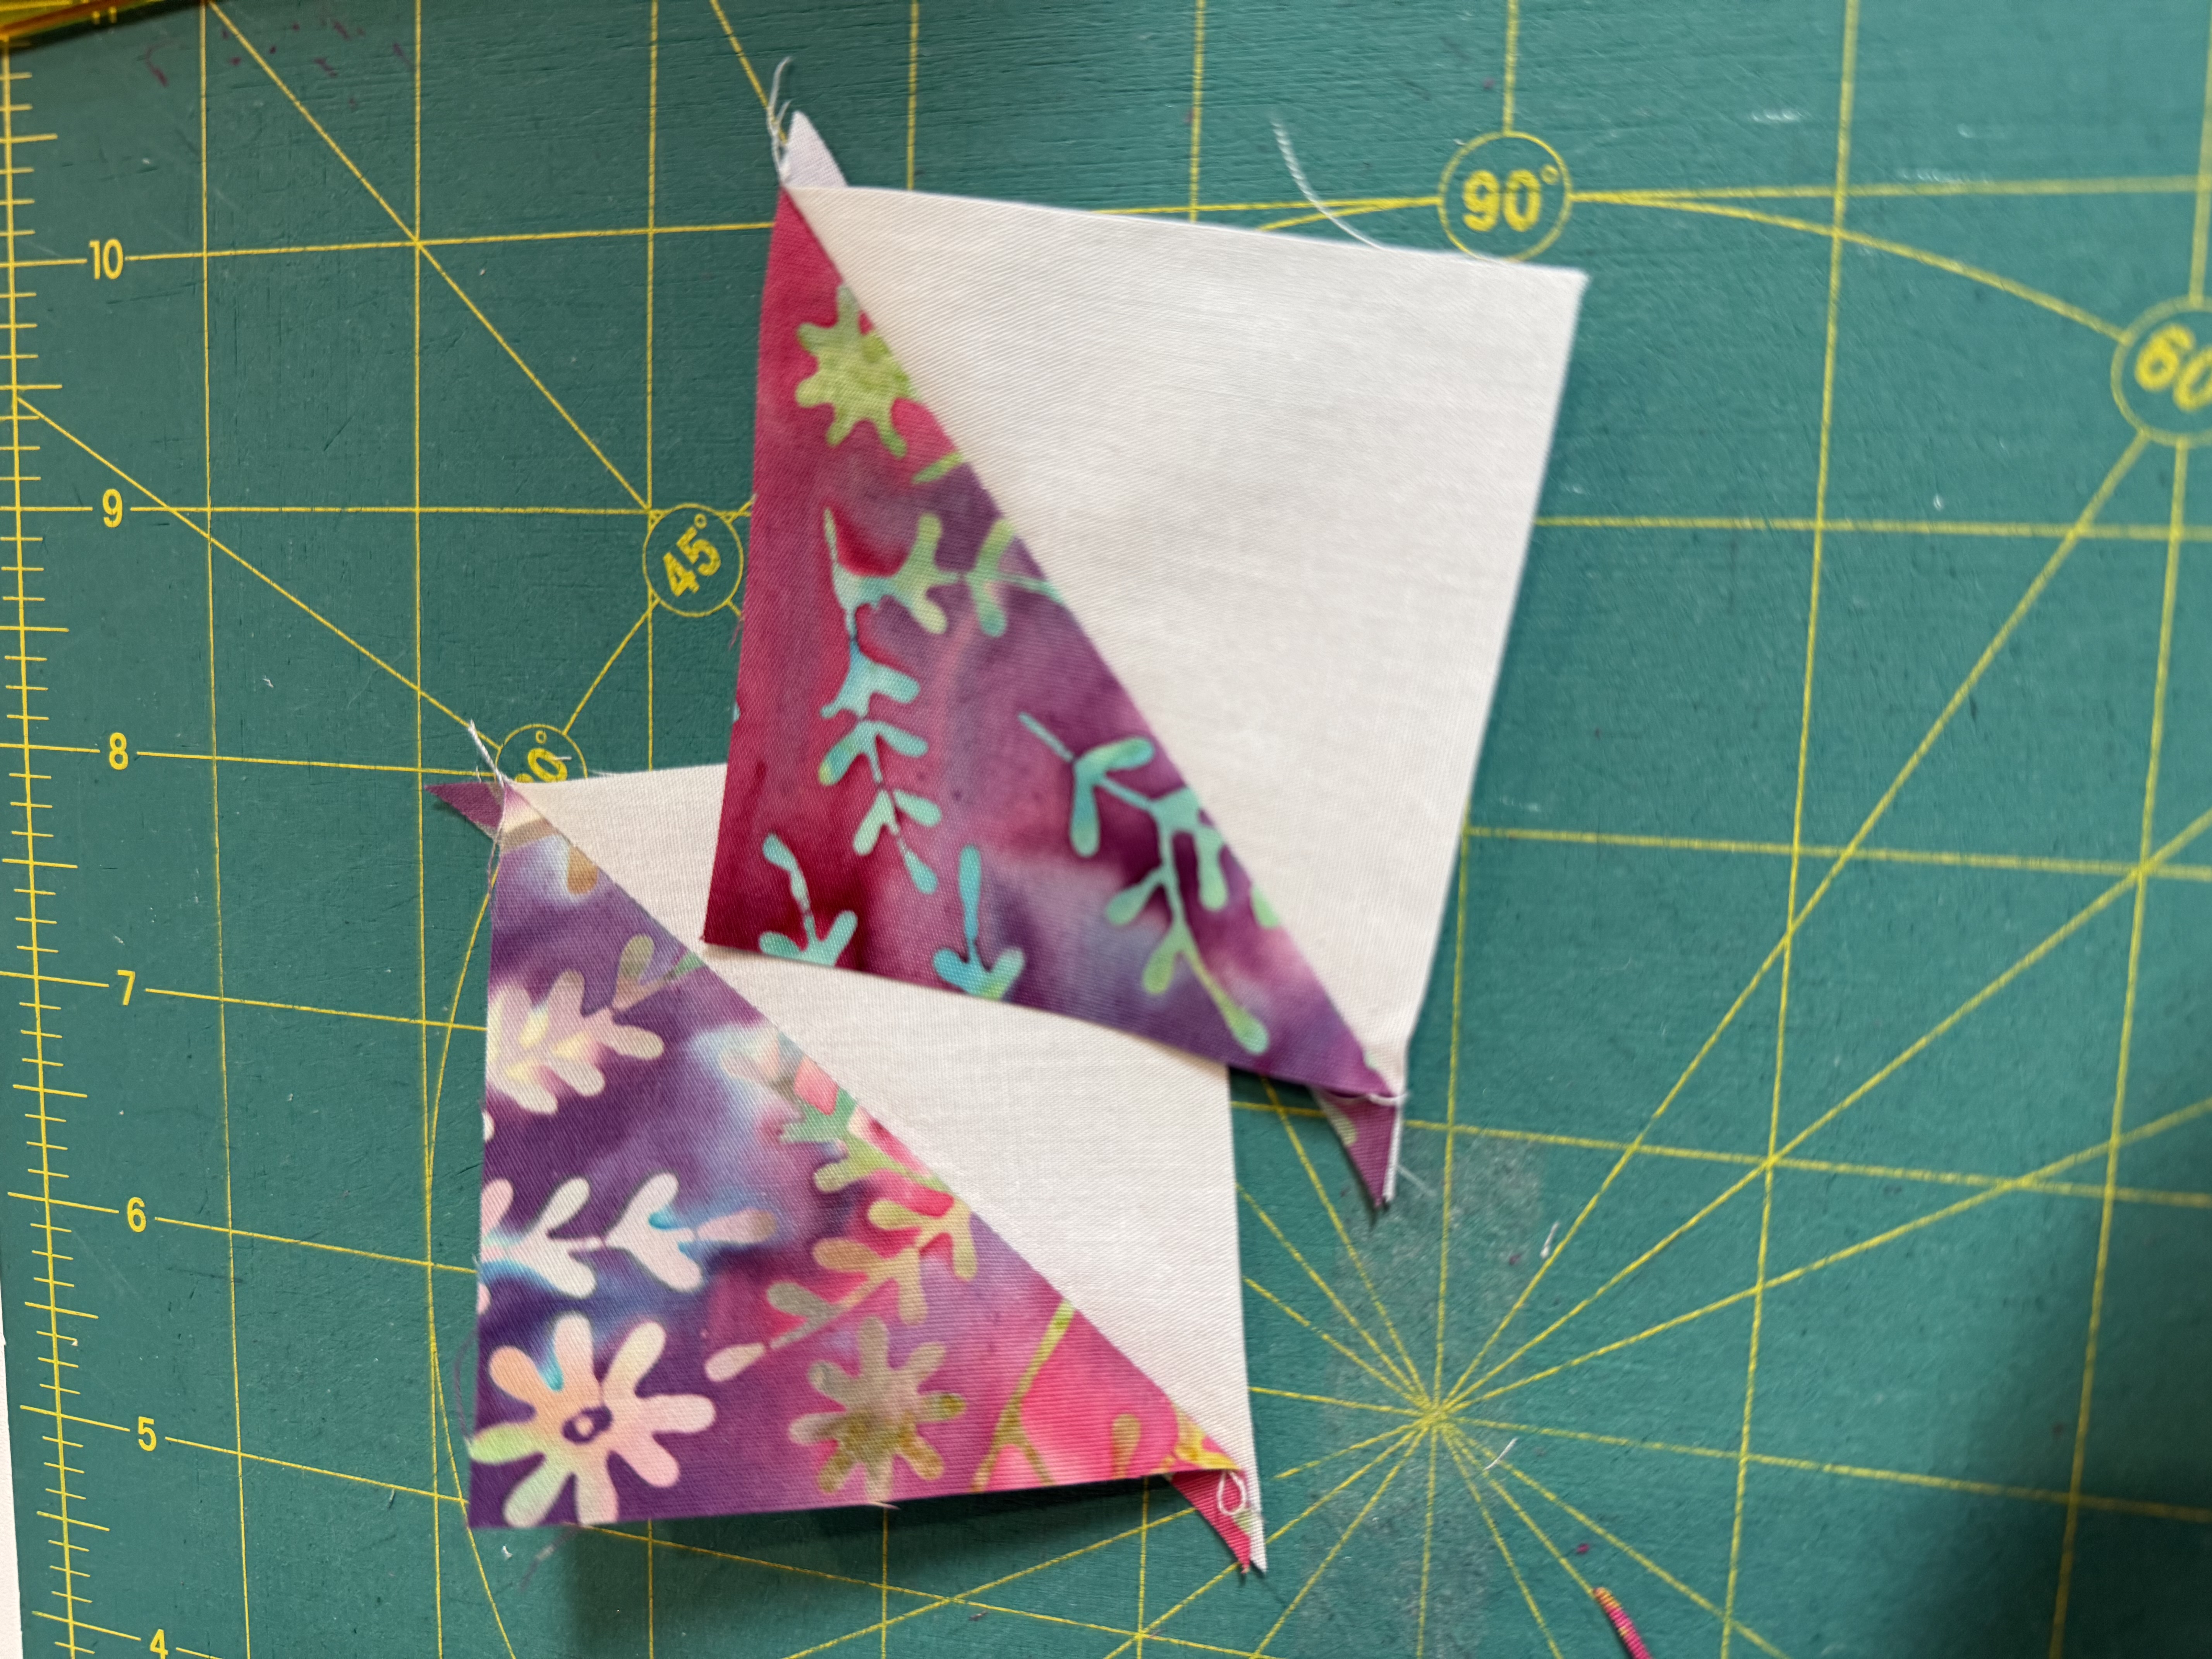
First we need to make some half square triangle units (HST) for the letters L. O and V. Locate the 3" background squares, the 3" blue/green squares, the 4" background squares and the 4" blue/green squares. You can draw a diagonal line corner to corner on the back of the background squares and sew 1/4" to either side of the line or if you have a Studio 180 Magic Wand, line it up corner to corner and draw the sew lines. I like this method better as I find it to be more accurate than sewing a quarter inch to either side of a drawn line. You can also skip drawing any lines if you use the diagonal seam tape on your machine. It gives you the perfect guide for feeding in squares on point. Whichever method you choose, go ahead and sew then cut apart between the stitch lines. Press open to the dark fabric. Square as needed to 2 1/2" and 3 1/2". You should have (6) of the 2 1/2" and (4) of the 3 1/2" HST units made.


Next we can add our cornerstone squares to the top and bottom block sashing pieces so they will be ready to use. Gather (16) Pink/Red 2 1/2" squares and (8) 2 1/2" x 6 1/2" background rectangles. I like to chain sew for efficiency whenever possible and this is a great place to do so. Place a Red/Pink square RST on a background rectangle. Line up the edges and sew using a 1/4" seam. Repeat this for all 16 units. Do not cut the chains yet. Simply turn the last piece in the machine around and sew squares to the remaining end. Press all seams in toward the background fabric.
Now we have all the pieces we need to assemble the letters so we will start with 'L'. Gather (2) top and bottom sashing units with the Red/Pink squares, (2) 2 1/2" x 6 1/2" background rectangles, (1) 4 1/2" background sqyuare, (1) Blue/Green 2 1/2" x 6 1/2" rectangle, (1) Blue/Green 2 1/2" square and one of the Blue/Green HST units you made.

For this block, as we will for all of the blocks, we will sew the center pieces then work our way out to the sashing.
1) Sew the 2 1/2" Blue Green square to the HST unit. Press the seam to the square
2) Sew the 4 1/2" background square to the top of assemble just made in Step 1. Press to the background square.
3) Sew the Blue/Green 2 1/2" x 6 1/2" rectangle to the left side of the Step 2 assembly. Press out
to the Blue/Green rectangle.
4) Sew a backround 2 1/2" x 6 1/2" to both the right and the left sides of the Step 3 assembly.
Press out to the background sashing.
5) Sew a sashing strip with Red/Pink cornerstones to the top and the bottom. Press out to the
sashing strips.
6) Press your block well so it is nice and flat. It should measure 10 1/2" square.
Next in line is the 'O' block. this one is super easy. Gather (4) Blue/Green 2 1/2" squares as well as (4) 2 1/2" HST units. You will also need a background 2 1/2" square, 2 of the 2 1/2" x 6 1//2" sashing rectangles as well as a top and bottom sashing piece with the Red/Pink squares. Ignore my mistake in the layout below, I have an HST turned the wrong way LOL! So be sure to turn that lower right one the correct way.
1) Sew an HST unit to each side of a Blue/Green 2 1/2" square. Press in toward the center square. Make two rows like this. (top and bottom of the 'O') 2) Sew the remaining (2) Blue/Green 2 1/2" squares to each side of the 2 1/2" background
square. Press out to the Blue/Green squares.
3) Sew the rows from steps 1 and 2 together. Press in to the center row.
4) Sew a 2 1/2" x 6 1/2" sashing strip to each side of the center unit made in Step 3.Press out to
the sashing strips.
5) Sew a sashing strip with Red/Pink cornerstones to the top and the bottom. Press out to the
sashing strips.
6) Press your block well so it is nice and flat. It should measure 10 1/2" square.
Ok we are moving right along to 'V' block. This one is also super easy. Gather the (4) 3 1/2" HST units, (2) 2 1/2" x 6 1/2" background sashing strips and (2) of the top and bottom sashing strips with the Red/Pink corners.
In order for our seams to nest, repress (2) the HST units away from the dark toward the background. I could of done these as flying geese but didn't think of it until I had already cut everything. Oh well! HST units are easy.
1)
Sew the HST units together as shown in the picture. Be sure to pair them with seams going in opposite directions. You will have two rows made.
2) Press one seam to the right and one to the left then sew the rows together as shown above.
3) Sew a 2 1/2" x 6 1/2" sashing strip to each side of the center unit made in Step 3.Press out to
the sashing strips.
4) Sew a sashing strip with Red/Pink cornerstones to the top and the bottom. Press out to the
sashing strips.
5) Press your block well so it is nice and flat. It should measure 10 1/2" square. That was easy!
Last but not least we have the 'E' block. This one has a few more pieces but is easy as well. Gather (3) background 1 1/2" squares, (2) background 1 1/2" x 4 1/2" rectangles, (1) 2 1/2" x 6 1/2" Blue/Green rectangle, (2) 2" x 4 1/2" Blue/Green rectangles, (1) 1 1/2" x 3 1/2" Blue/Green rectangle, the remaining (2) background sashing pieces and the remaining (2) top and bottom sashing pieces.
We we are going to make some folded corners first. These are very easy if you have never done them. Sometimes people call it 'snow balling' the corner but folded corner is more accurate.
Take (2) of the 1 1/2" background squares and draw a diagonal line corner to corner on the back. Align a square on the Blue/Green 2" x 4 1/2" rectangles. Make sure one is lined up to the upper right corner, lining up the edges and the other one to the lower right corner. Sew on the drawn line. Trim the seam allowance to 1/4" then press out to the triangle. Now we have everything we need.

1) Starting at the bottom of the 'E", sew the piece with the folded corner triangle on the lower right
to the bottom of a 1 1/2" x 4 1/2" background rectangle. Press to the dark.
2) Sew a 1 1/2" square to the end of the 1 1/2" x 3 1/2" Blue/Green rectangle. Press to the dark.
3) Sew the piece from Step 2 to the top of the assemble from Step 1. Press to the dark.
4) Sew anothe 1 1/2" background piece and press to the dark.
5) sew on the 2" x 4 1/2' with the folded corner on the upper right ahdn corner to the top. Press to
the dark.
6) Sew the 2 1/2" x 6 1/2" Blue/Green rectangle to the left side. Press to the dark.
7) Sew a 2 1/2" x 6 1/2" sashing strip to each side of the center unit made in Step 6.Press out to
the sashing strips.
8) Sew a sashing strip with Red/Pink cornerstones to the top and the bottom. Press out to the
sashing strips.
9) Press your block well so it is nice and flat. It should measure 10 1/2" square.
I hope you are in love with your 'LOVE' blocks! Next week we will make the 'X' blocks and the Heart blocks so stay tuned! If yu have any problems with anything or find a mistake, please let me know or reach out if you need some help with the blocks. sue@dragonflyfiberart.com.
Until Next Week
Best
Sue


