Hello Everyone!
This week we are sewing the lovely star crossed block.

First, let's cut out pieces. I used three different fat quarters plus the full width of fabric (WOF) white background for this block. My fat quarters had a lot of amazing color variation in them which gave dimension to my blocks. I am very happy with how they came out. I am still working from the Island Batik Flower Pot group. Where I indicate 22" as the width, I am simply cutting the width of the fat qarter. It coud be 21 or 21 1/2" or 22 1/2". It doesn't matter. There is plenty of fabric.

WOF - Width of Fabric HST - Half Square Triangle QST - Quarter Square Triangle
RST - Right Sides Together
Background: Cut (4) 2 1/2" x WOF. Subcut (64) 2 1/2" squares
Cut (1) 3 1/2" x WOF. Subcut (8) 3 1/2" squares (for QST units)
Cut (3) 3" x WOF. Subcut (32) 3" squares (for HST units)
Sprig With Small Daisy: Cut (5) 3" x 22" Subcut (32) 3" squares (for star point HST units)
Petals Red Daiquiri: Cut (2) x 22" Subcut (8) 3 1/2" squares (for QST units)
Cut (3) 3" x 22" Subcut (16) 3" squares
Thyme w/Daisies Multi: Cut (5) 2 1/2" x 22" Subcut (40) 2 1/2" squares

Step1: HST Units - We will make thes the same way we did for the LOVE blocks. Gather (32) Background squres and (32) Sprig with Small Daisy. Draw a line on the back of the Background squares or even easier, udse your magic want. Place RST on the Sprig with Small Daisy blocks and sew 1/4" to either side of the line or if using a magic wand, sew on the lines. Cut apart through the center then press open to the dark. Square each to 2 1/2" square. (64) HST units made.

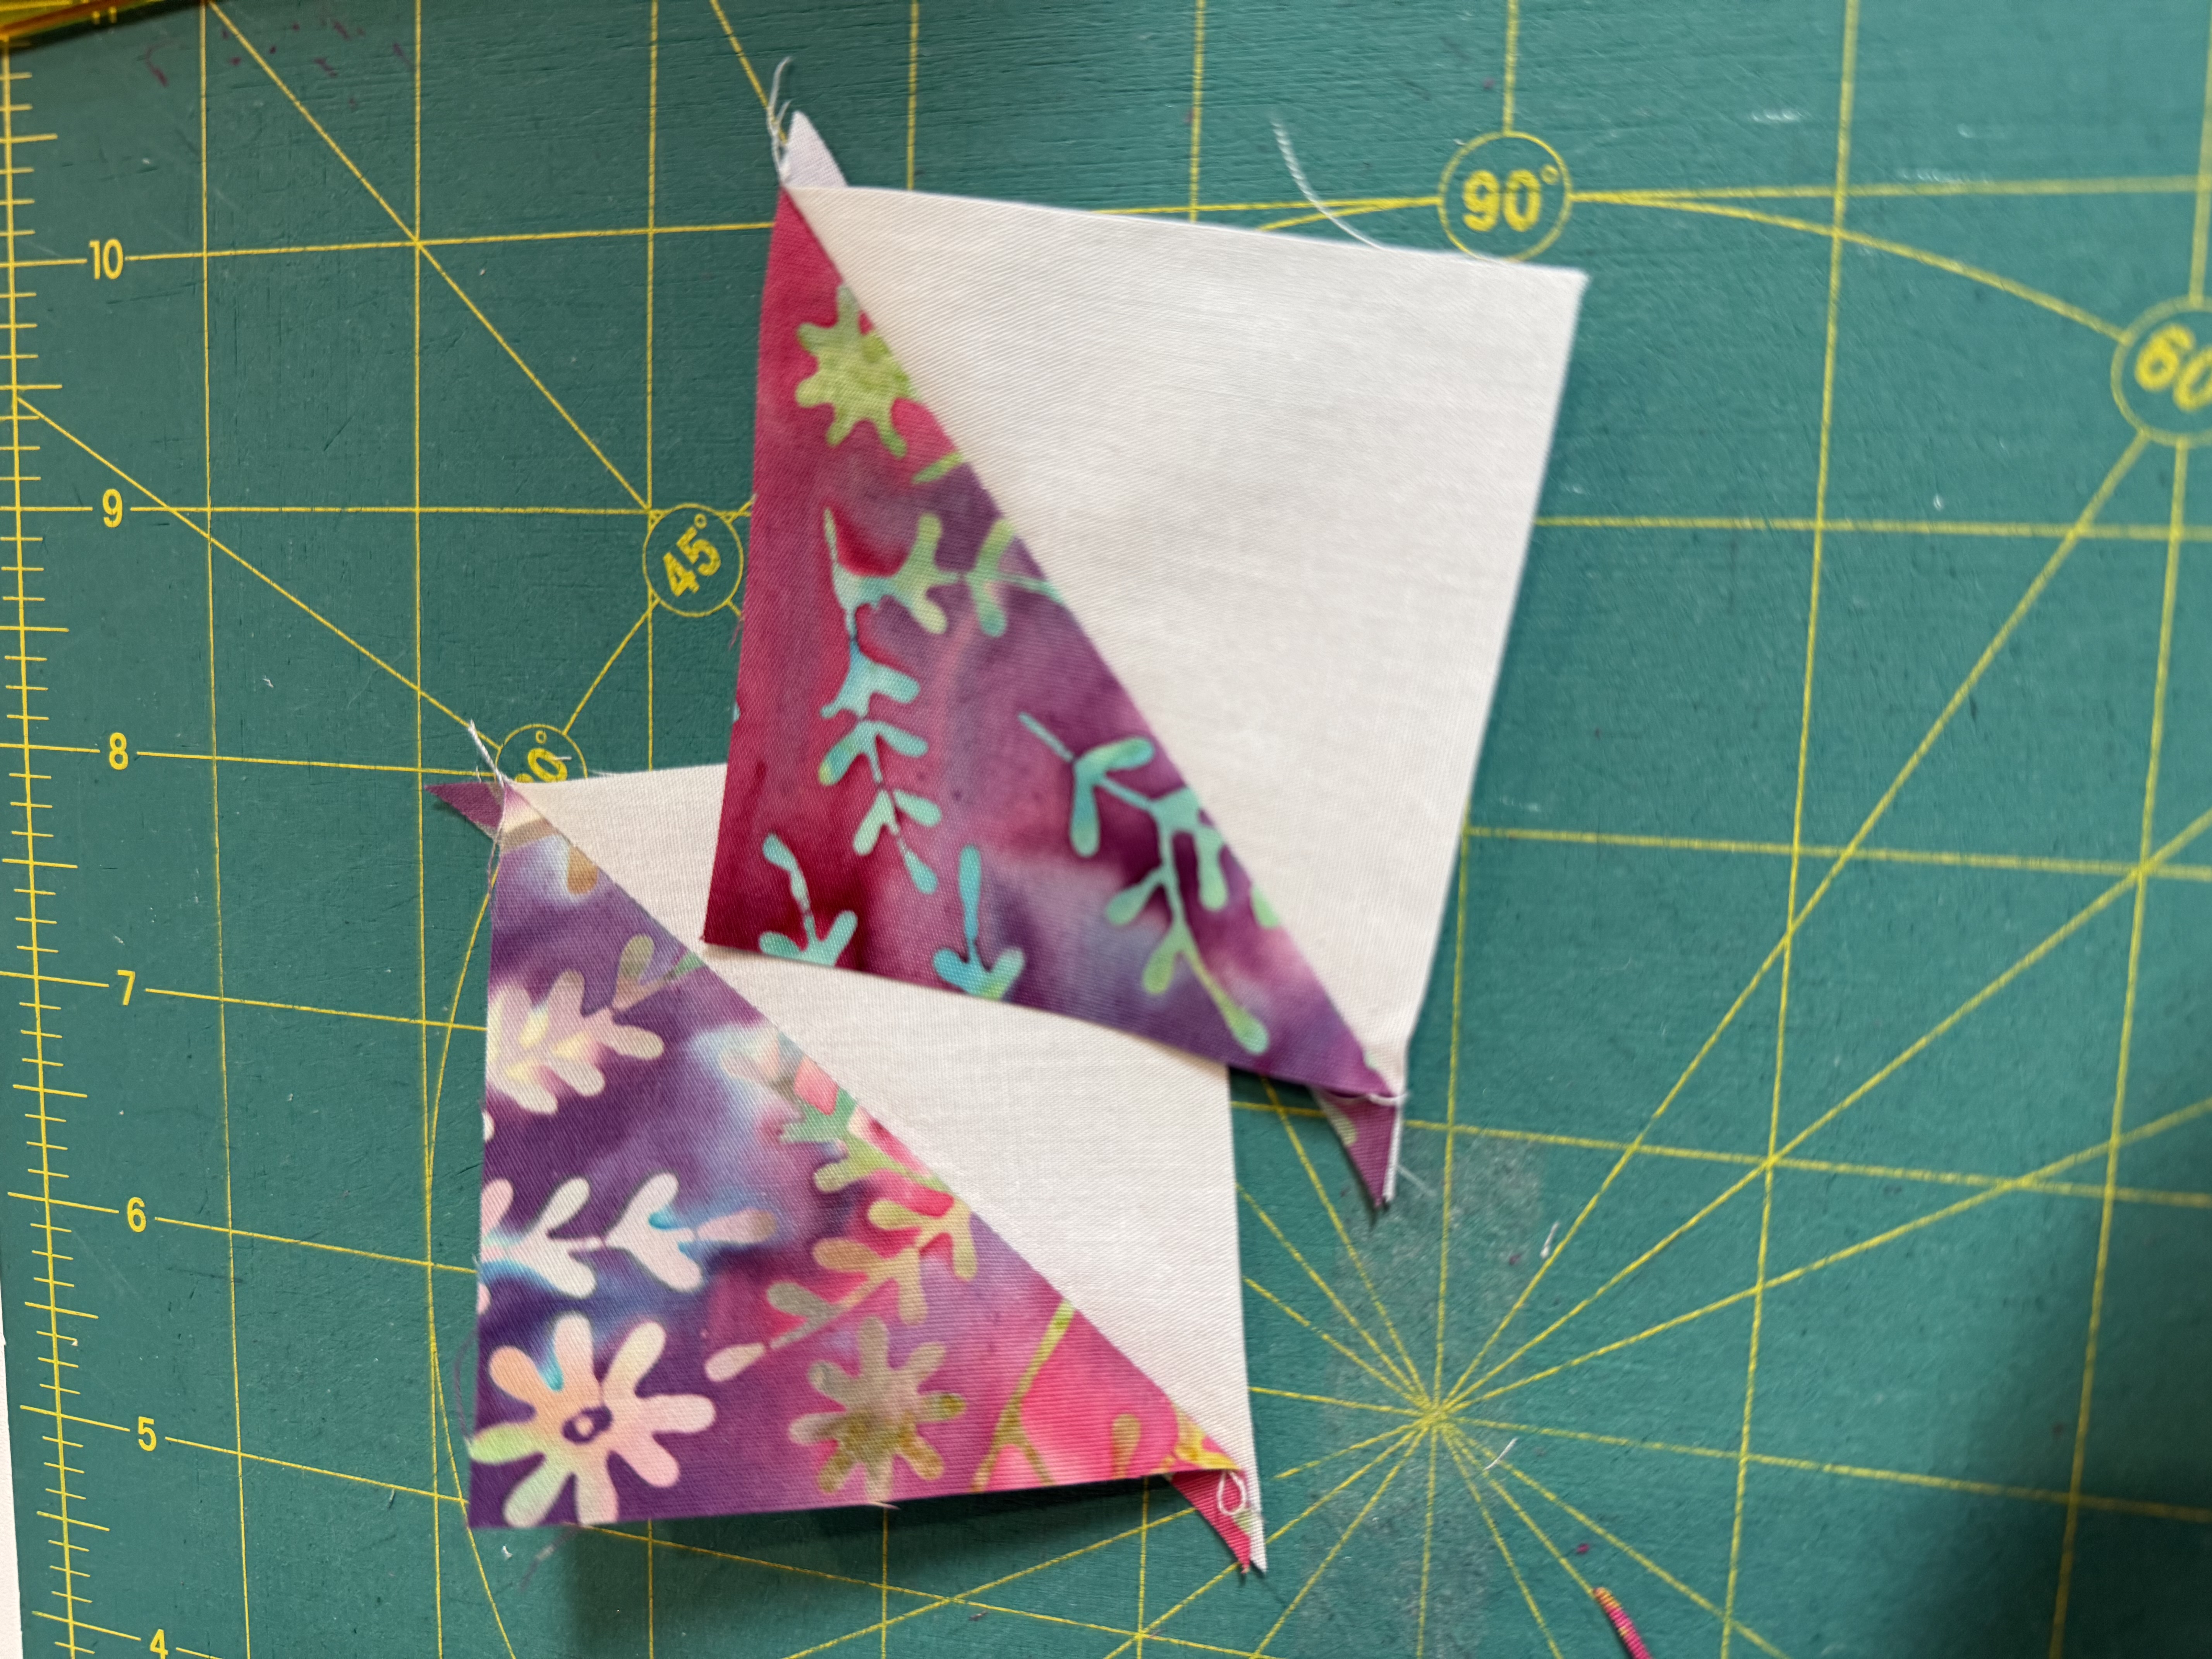
Step 2: QST Units - We start out with HST units then divide the block once more to create the QST unit. Gather (8) 3 1/2" Background squres nd (8) 3 1/2" Petals Red Daiquiri. Follow the same technique as Step 1 to create (16 HST units. Gather the (3) Petals Red Daiquiri squares. Draw a line on the back same as we have done for the HST units. Place it RST on top of the HST units just created. The lines that you will be sewing should cross the seam, so in other words, the new seams will be perpindicular to the seam on the HST forming a cross. Sew then cut apart. Square these units to 2 1/2". (32) QST units made.

Draw a line and sew 1/4" to each side or use the Magic Wand to draw sew line

Sew then cut the HST units apart between the seam lines.

Press open to the dark. Place the 3" square on top of the HST just made and draw a line or use the Magic Wand to draw sew line. The new seam crosses the seam on the HST. You seams will be like an X

Sew the same as the HST units then cut apart. Press to the dark. Square the QST unit to 2 1/2".
Step 3: Layout all the remaining squares, the HST units and the QST uits into rows as below. Using a 1/4" seam allowance, sew each row together. Press your seams as per the diagram below, Join your rows together and press as indicated below. Make (8) Blocks. Square your blocks as needed to 10 1/2" being careful not to lose your points.


Voila! Our Star Crossed Block is complete. Next week we will make hearts and arrows!
![]()
No comments:
Post a Comment
Please Comment With Your Thoughts!